VPS
Warning
Note that this is the setup for testing. Production (and secure) use requires much more effort.
This guide covers basics of deployment to a VPS (from providers like Hetzner or Digital Ocean) of the Docker-based setup only.
We will be using a ready-made cloud-init config to deploy to Hetzner.
Prerequisites
- account with your VPS provider of choice (with payment method configured)
- SMTP credentials
- purchased domain name (e.g.
mydomain.com) and access to your DNS provider
Steps
Create the cloud-init config
Take our example config as a starting point. It’s intentionally small enough so it’s easier to keep it in the head. Download the file and edit header to set your own domain name and (potentially) SMTP credentials.
Note
It’s a great idea to read the config file line by line to understand what it will be doing.
If you plan to run it in production, you need to tighten it’s security, add monitoring, backups etc.
Setup cloud-init when creating the VM
With your VPS provider of choice (we use Hetzner here as an example), configure a new VM (4GB / 2 vCPU should be enough to start).
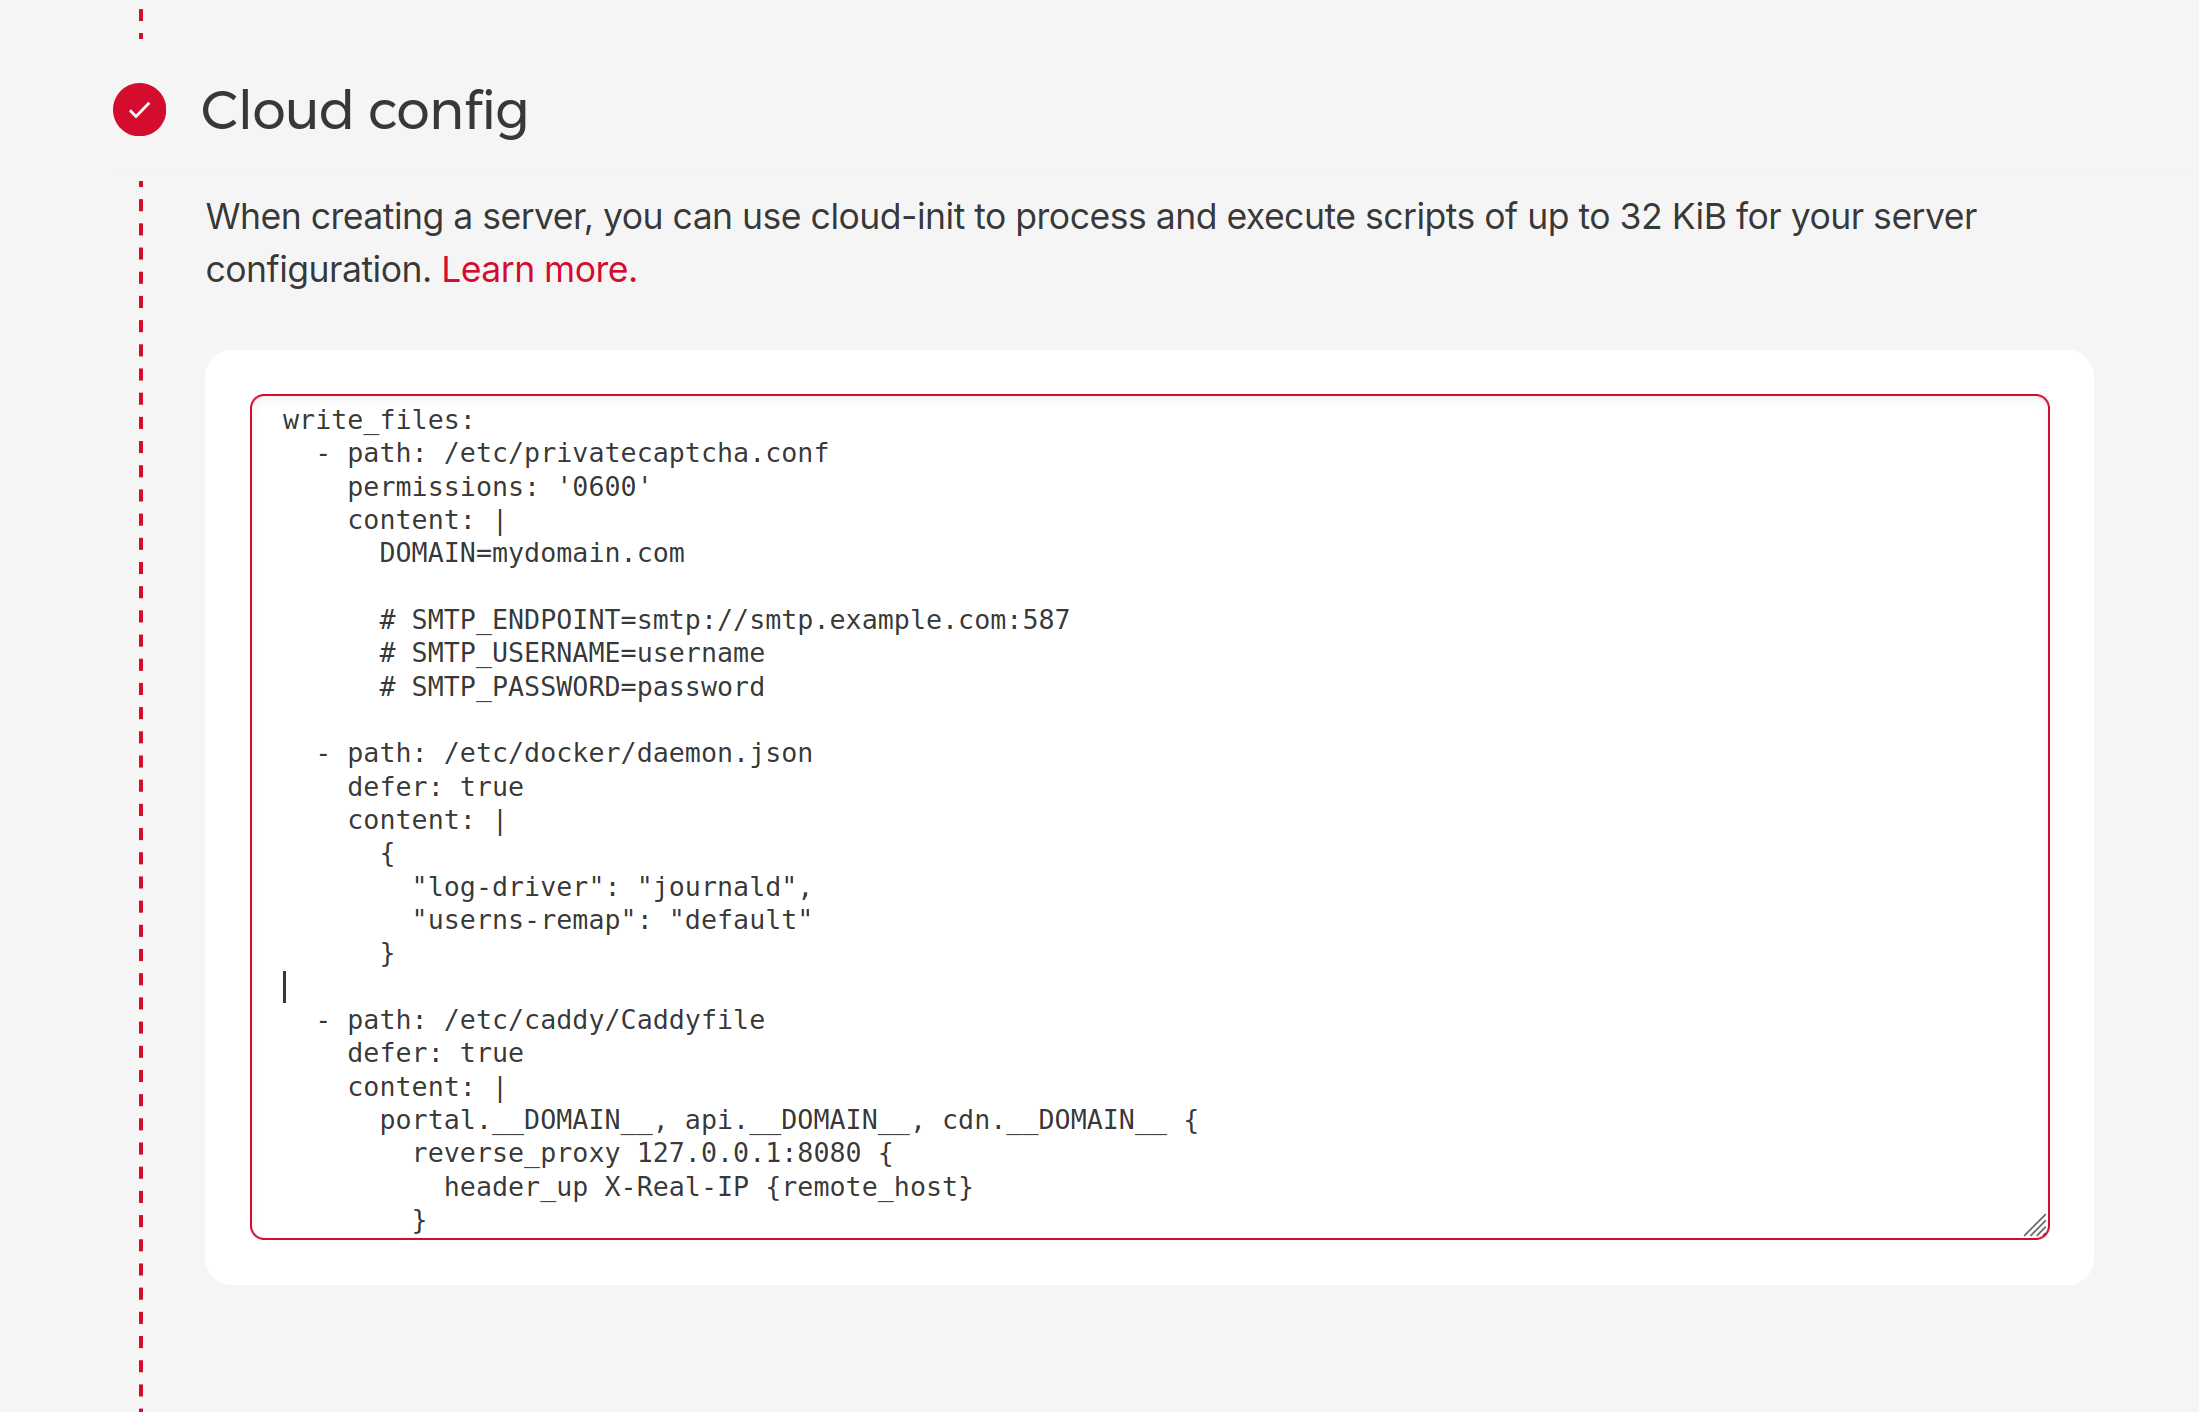
In the section with Cloud-init (aka “User script”) paste the config you created before:
Start the VM
That’s it, after you start the VM, the bootstrap script will download self-hosting repository, install few of the required packages, pull Docker images of Private Captcha server, Postgres and ClickHouse and setup the server.
You will have to login to the VM (possible without SSH via your VPS provider e.g. in Hetzner it’s “Actions -> Console”) and check if everything is running correctly (e.g. sudo systemctl status privatecaptcha and/or docker ps).
Warning
Sample .env config is intentionally minimal. You can go to /opt/privatecaptcha and, as root, edit .env file to setup various secrets or other configuration such as your license key.
Setup domain names
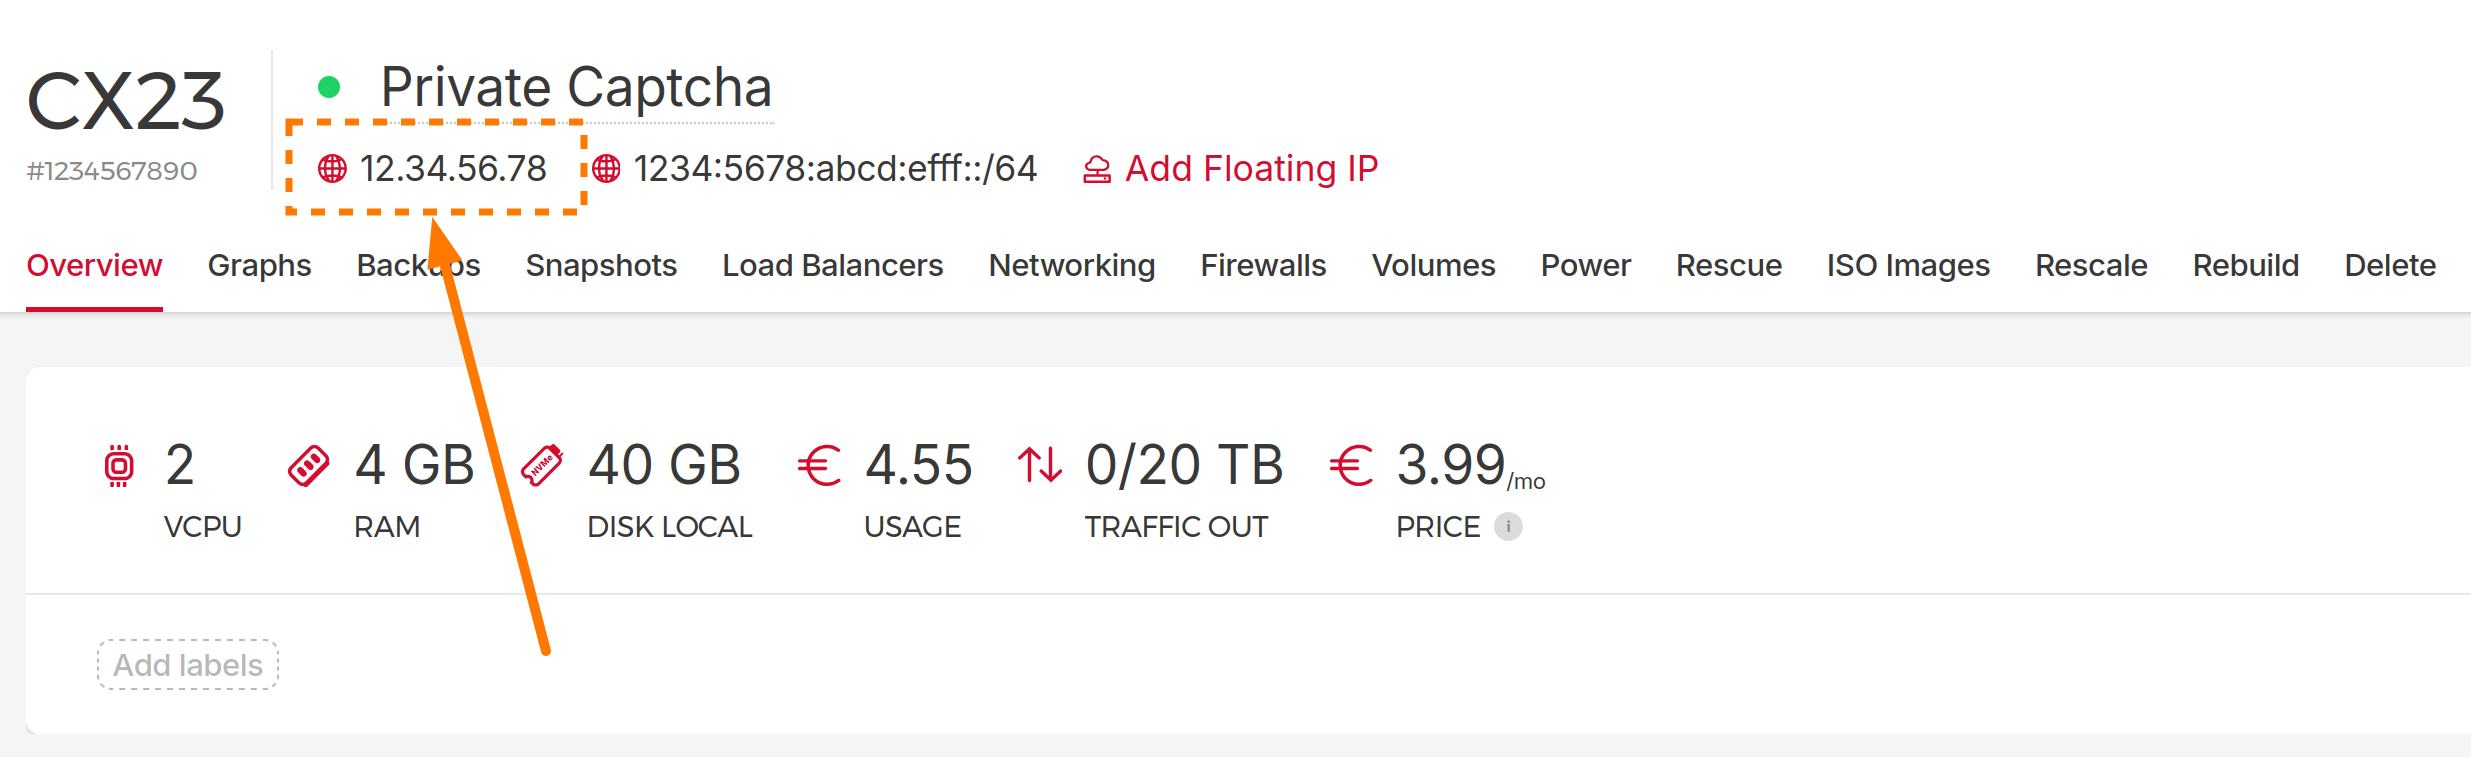
After you will start the VM, you will get its IP address. Example from Hetzner:
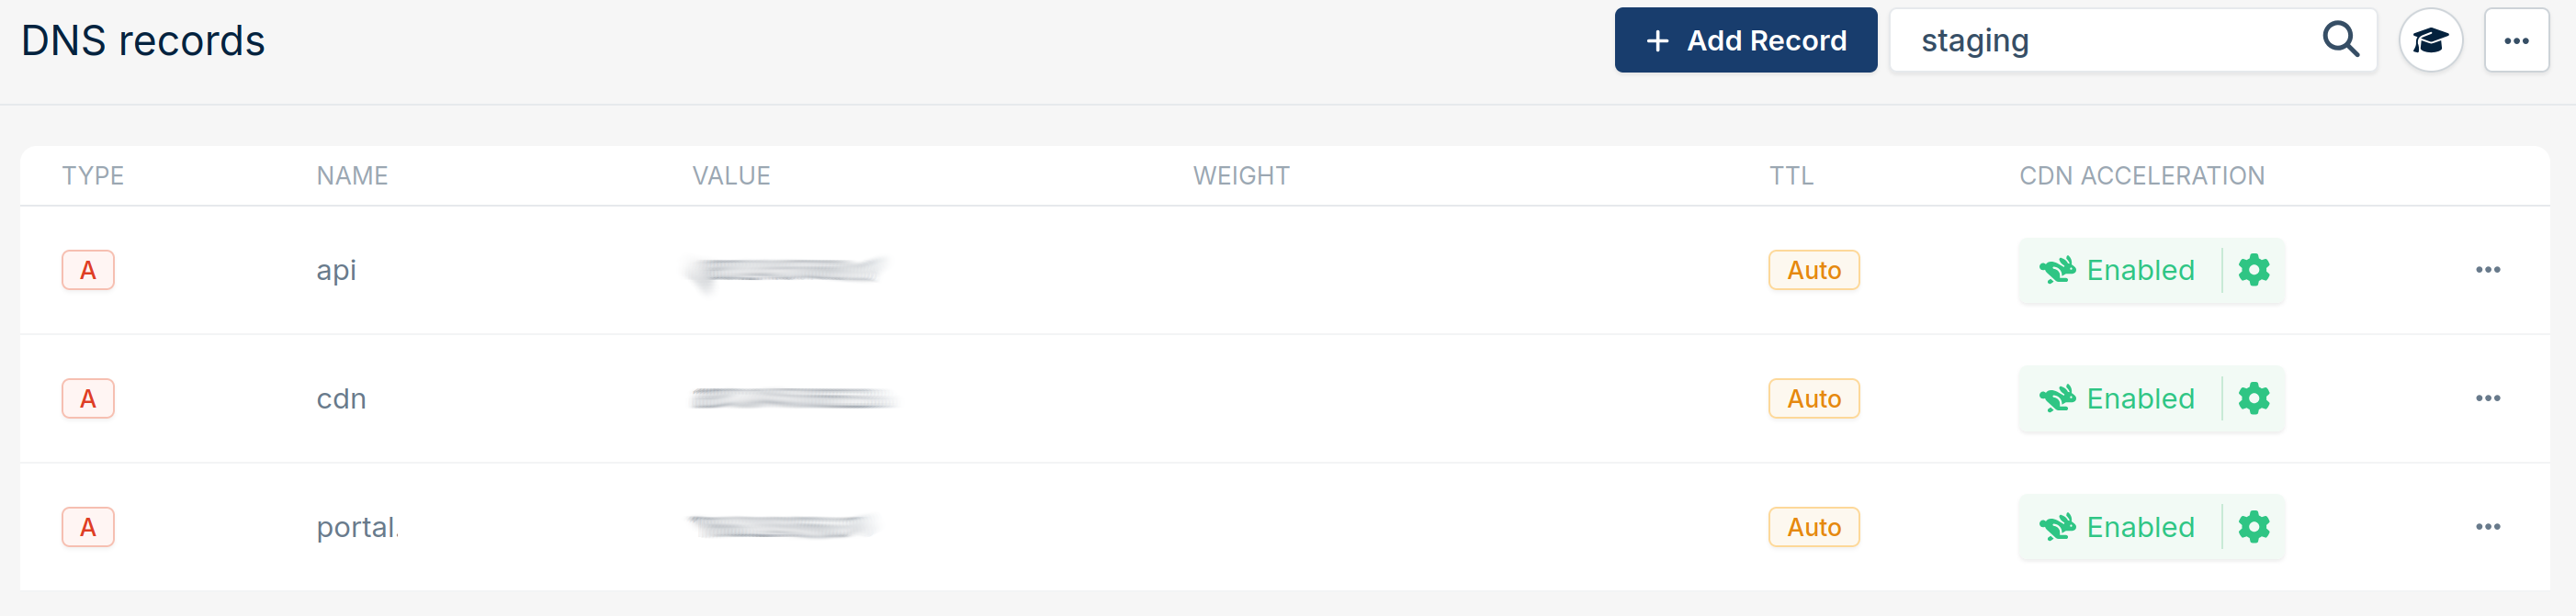
Using this IP address you can go to your DNS provider of choice and setup portal.mydomain.com, cdn.mydomain.com and api.mydomain.com addresses as A records, pointing to that IP:
After this Caddy will be able to provision the certificates and Private Captcha service will be fully functional.
Open portal
Navigate to https://portal.mydomain.com and login with admin@mydomain.com:
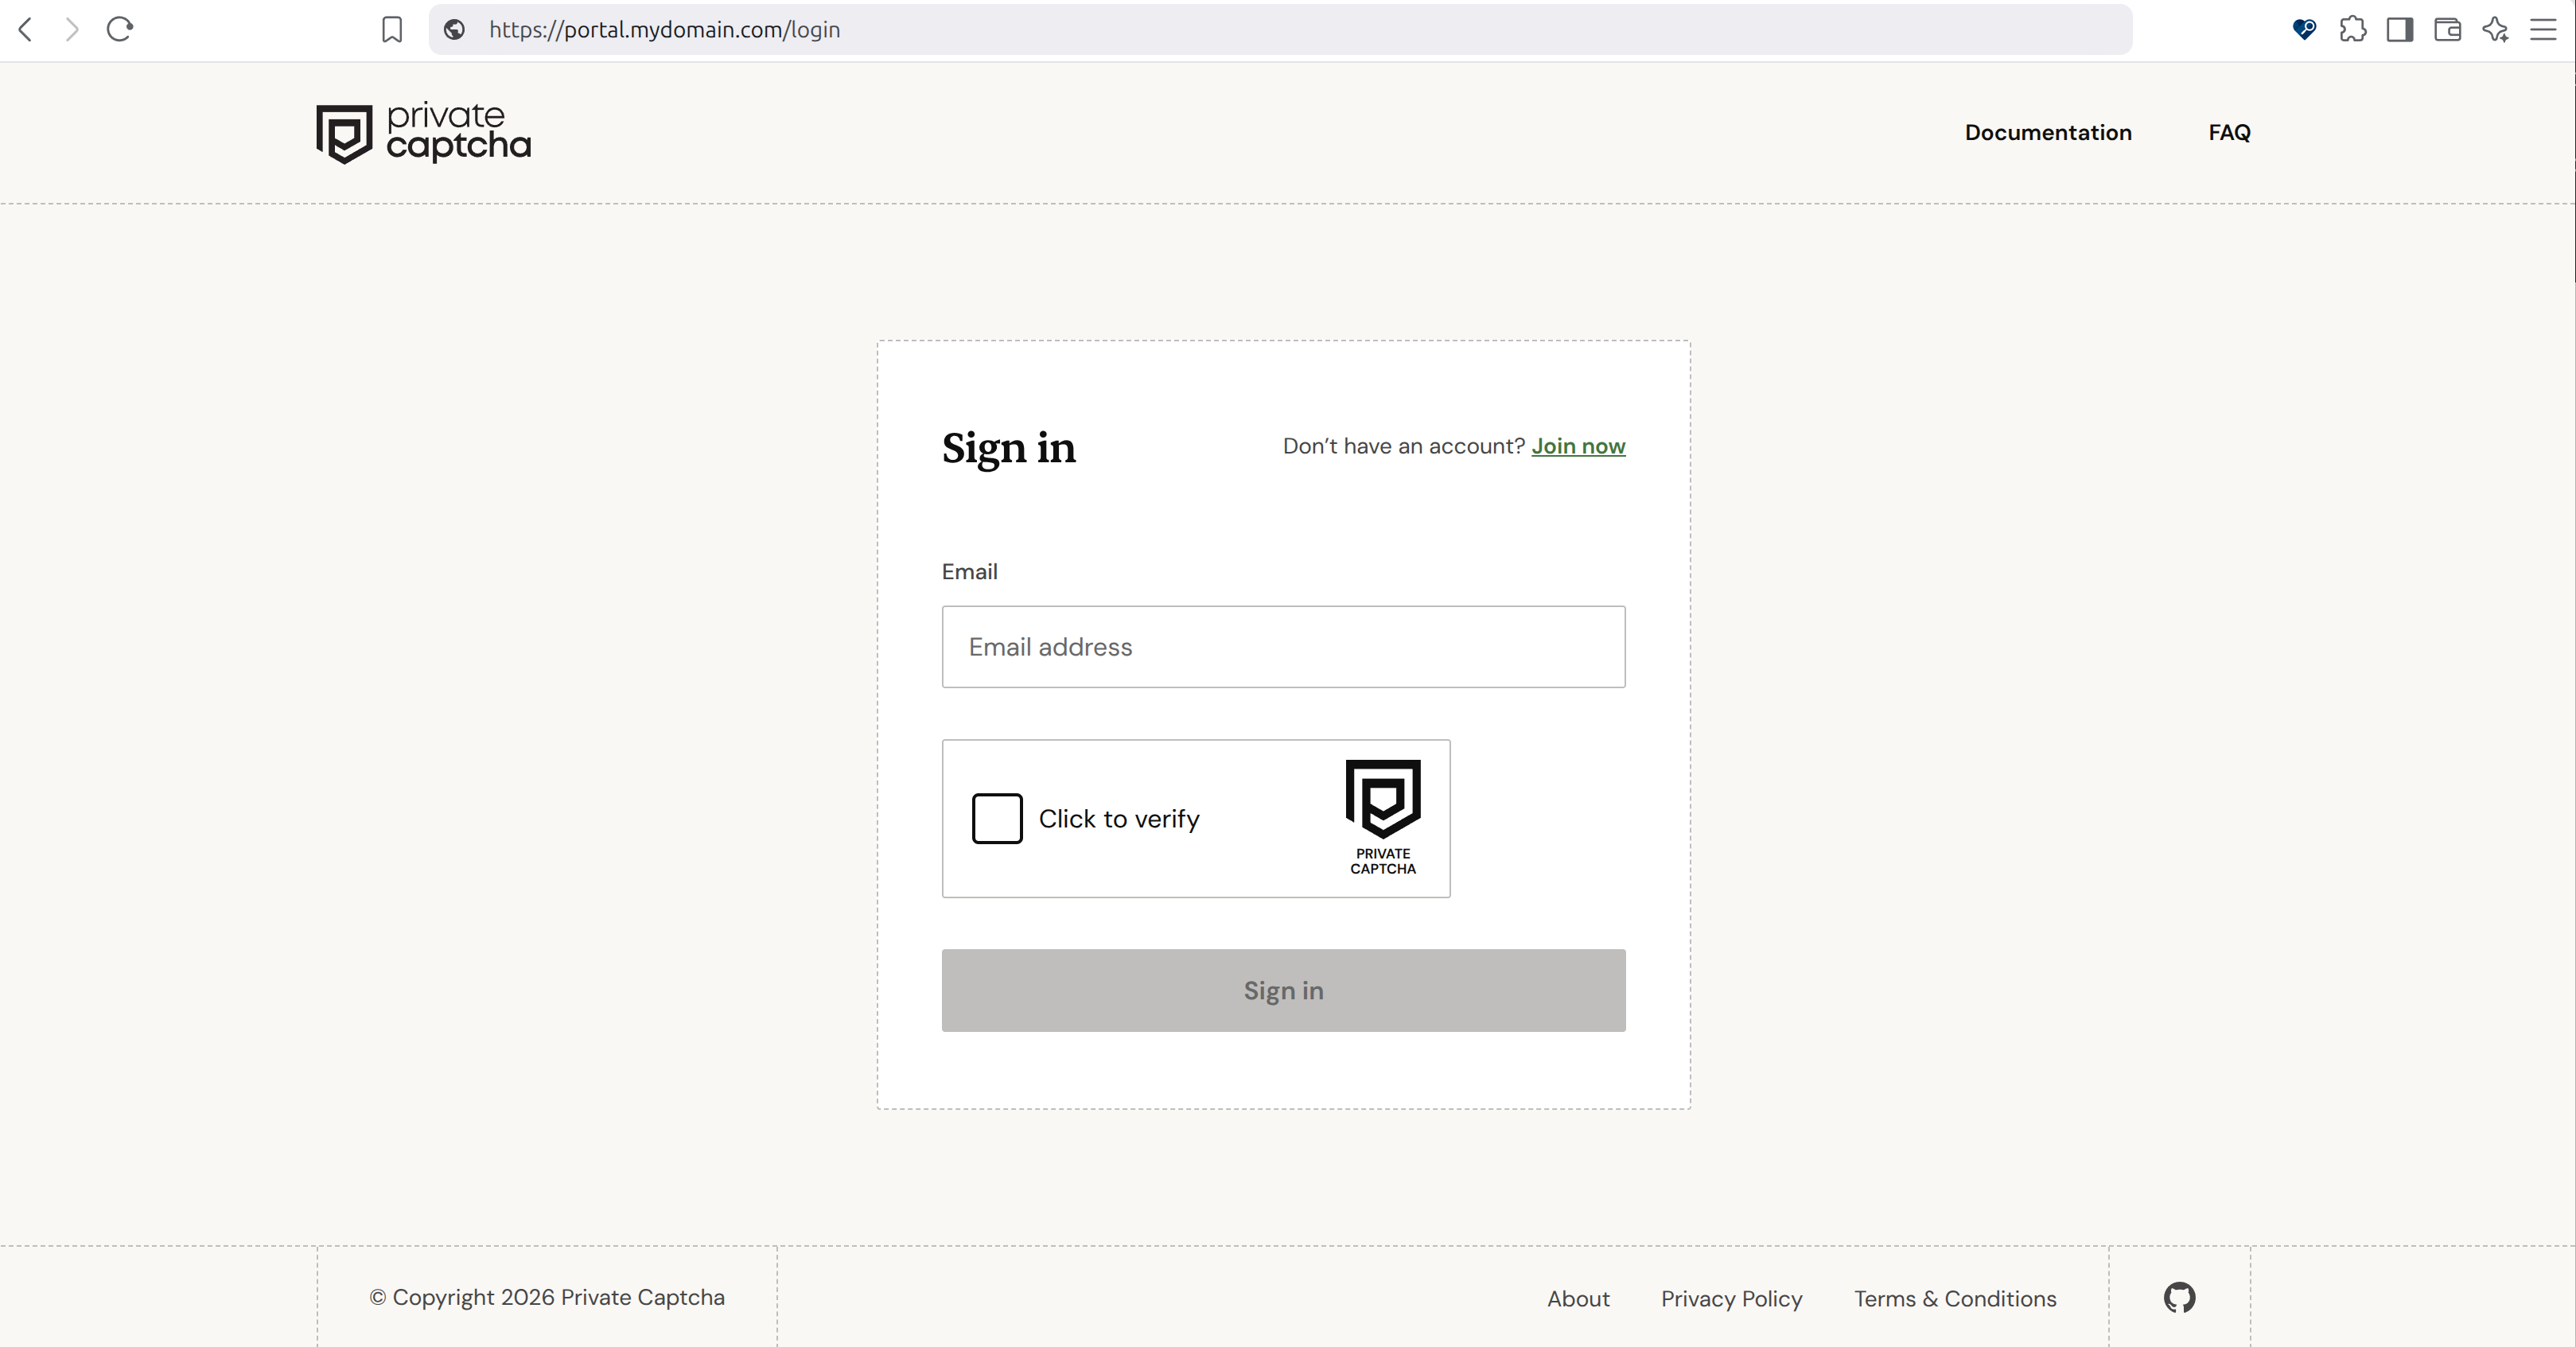
The definition of success is if you’re able to login. It will mean that admin user and portal domains were provisioned correctly, CAPTCHA puzzle was fetched and verified (from api. subdomain), and SMTP credentails are working.
Next steps
Security
Warning
Note that you should rather not connect this VM directly to the internet, it’s better to use a CDN or a load-balancer in front of it.
General information about securely running a server in production is well out of scope of this article. But there’s a lot that can and should be done on top of that cloud-init config.
Some information, specific only to Private Captcha, can be found here.
Monitoring
Internal
Private Captcha server exposes Prometheus metrics if PC_LOCAL_ADDRESS variable is set. You can monitor local metrics with a wide array of software (e.g. Netdata).
External
There’re plenty of services to check if your deployed service is working. In particular critical part is the /puzzle and /verify paths (as they are used by your captcha widgets and their dependents) - you can setup simple tests using the test sitekey (you will still need to create a separate API key for monitoring).
Backups
Configuring backups (and monitoring them as well) is always a great idea, especially when done from day 1. With VPS it’s as easy as checking the checkbox in settings (note that this will backup the whole VM, and not the Private Captcha databases), which is not ideal but much better than no backups.
Troubleshooting
Cloud-init
If cloud-init script failed, you need to login to the VM and check last lines in /var/log/cloud-init.log and /var/log/cloud-init-output.log.
Private Captcha
Typically, you will login to the VM and in the /opt/privatecaptcha you will examine logs of various docker containers (starting with docker compose logs privatecaptcha) and if the .env file.
Local test
You can test almost the whole setup locally using Vagrant. Clone self-hosting repo and in the cloud-init/ directory run vagrant up (note that to open portal, you will need to setup a few entries in the /etc/hosts like {portal,api,cdn}.privatecaptcha-vagrant.local for 127.0.0.1).