Bunny CDN
Note
Using Bunny CDN is not required. This is an example of self-hosting Private Captcha behind Bunny CDN. Instructions for other CDN providers will be different, but core ideas are the same.
Prerequisites
Basic version of self-hosted Private Captcha is the single-node docker-compose setup, described in the Quickstart.
It is assumed:
- you are running a single node compute resource (e.g. a VPS in Hetzner/Linode/Scaleway or EC2 instance in AWS)
- you have setup, configured, and secured your compute node such that for the rest of this guide you have an active shell access (e.g. SSH or “cloud shell” from your provider)
- your compute node has a public IPv4 address and
80/443port is exposed publicly in your firewall - you have a domain
mydomain.compurchased and access to your domain name registar - you already did the Quickstart guide, configured your environment variables, SMTP provider etc.
Setup steps
Point nameservers for your domain to Bunny DNS servers
For the domain (or subdomain) where you will host your Private Captcha instance, we will need Bunny to manage our DNS. For that we need to point your current domain name registar DNS to Bunny.net. Login to your registar and find DNS section. Inside point your DNS to Bunny’s servers kiki.bunny.net and coco.bunny.net.

Add three type-A DNS records for api., cnd. and portal.

Point all 3 records to the same public IPv4 address for your compute resource (VPS server, EC2 instance etc.) and click “Enable CDN acceleration” button for each of them. This will create 3 respective CDN zones which we will configure separately below.
Decide on HTTPS termination
In general you have a few options:
- Bunny does HTTPS termination for and your Private Captcha instance listens on port
80(which you will allow in firewall of your server). Traffic between Bunny and your server is not encrypted. This is the default option and does not involve any additional steps. Your only job is to click “Force SSL” and “Get a free certificate” (Let’s Encrypt) in Bunny UI and you are done. - Bunny does HTTPS termination and you use self-signed certificates for Private Captcha. Same as the above, but traffic between Bunny and your server is encrypted (albeit potentially vulnerable to MITM attack). Your instance listens on port
443instead. You can pass certificates to the Private Captcha server using-certfileand-keyfilecommand line parameters. - You use your own certificates all the way, starting from your server. You upload your certificate to Bunny and tell Bunny CDN to verify the certificate origin for you. Certificates can be updated using certbot.
Configuring the api. CDN zone
- Hostnames. Click “Force SSL” both on Bunny proxy and
api.mydomain.comaddress. - Origin. If you are using custom certificates for docker-compose setup, use port
443, otherwise use80(see above)
- Pricing & Routing. Use “High-volume tier” setup. At the time of the writing Bunny has a problem with IPv6 connections on “Standard tier” and only “High-volume tier” does not have this issue. It does reduce the number of points-of-presence but it’s not a substantial problem. (This is a pretty much only Bunny-specific setting in this guide)
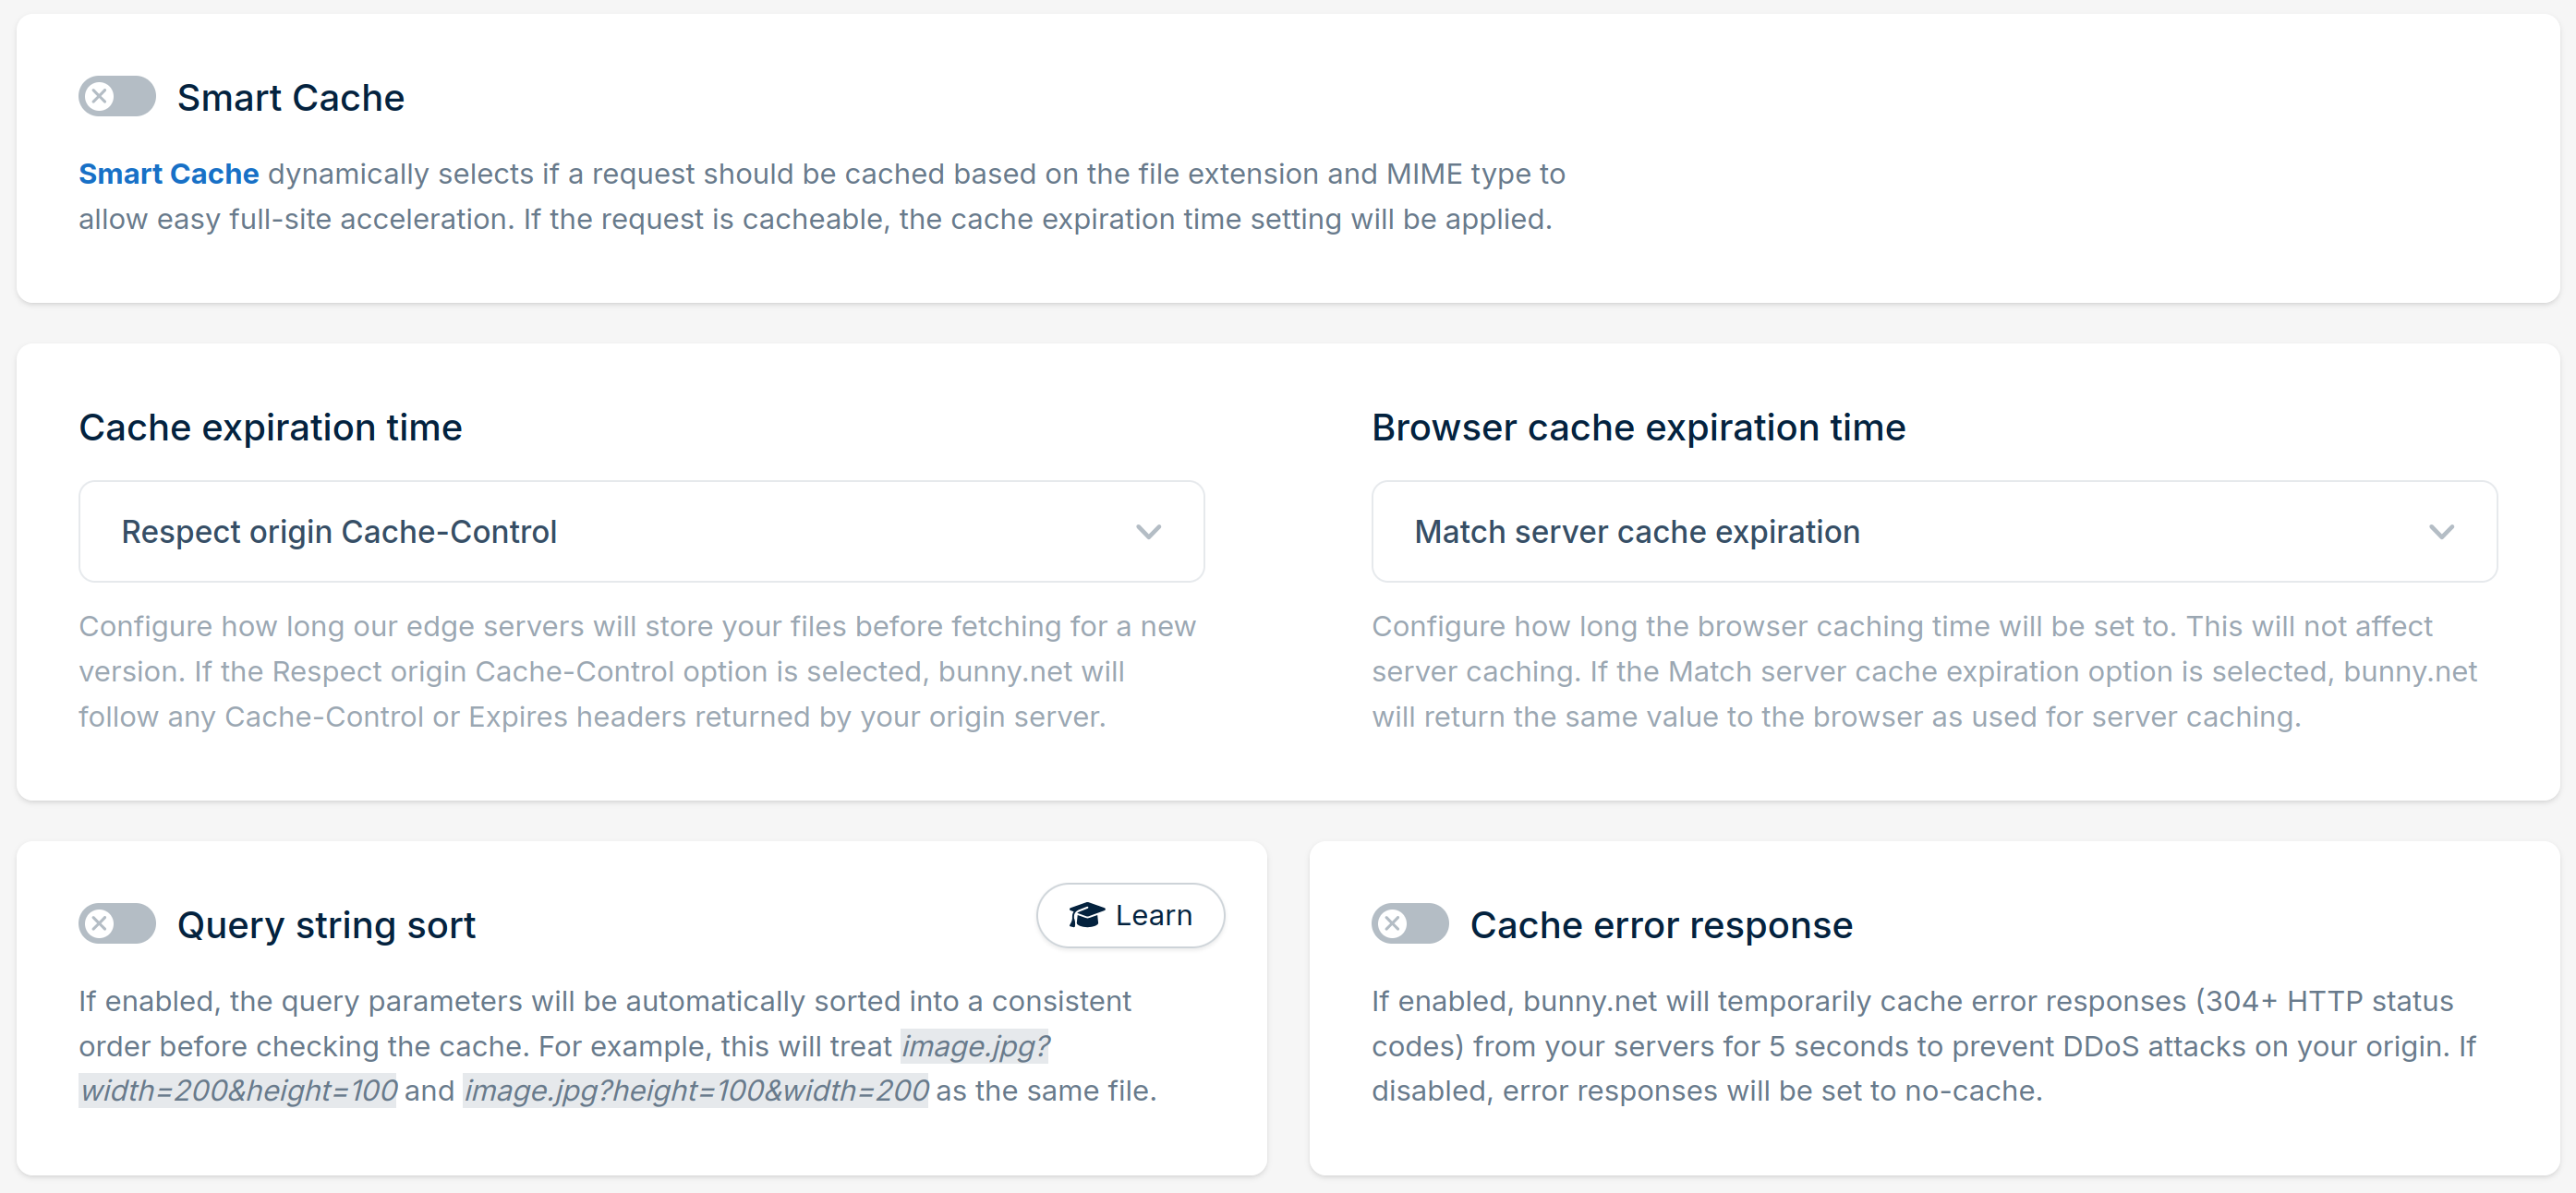
- Caching. Disable “Smart Cache”, “Query string sort”, “Cache error_response” settings. Make sure to use “Respect origin Cache-Control” for Cache expiration time setting.
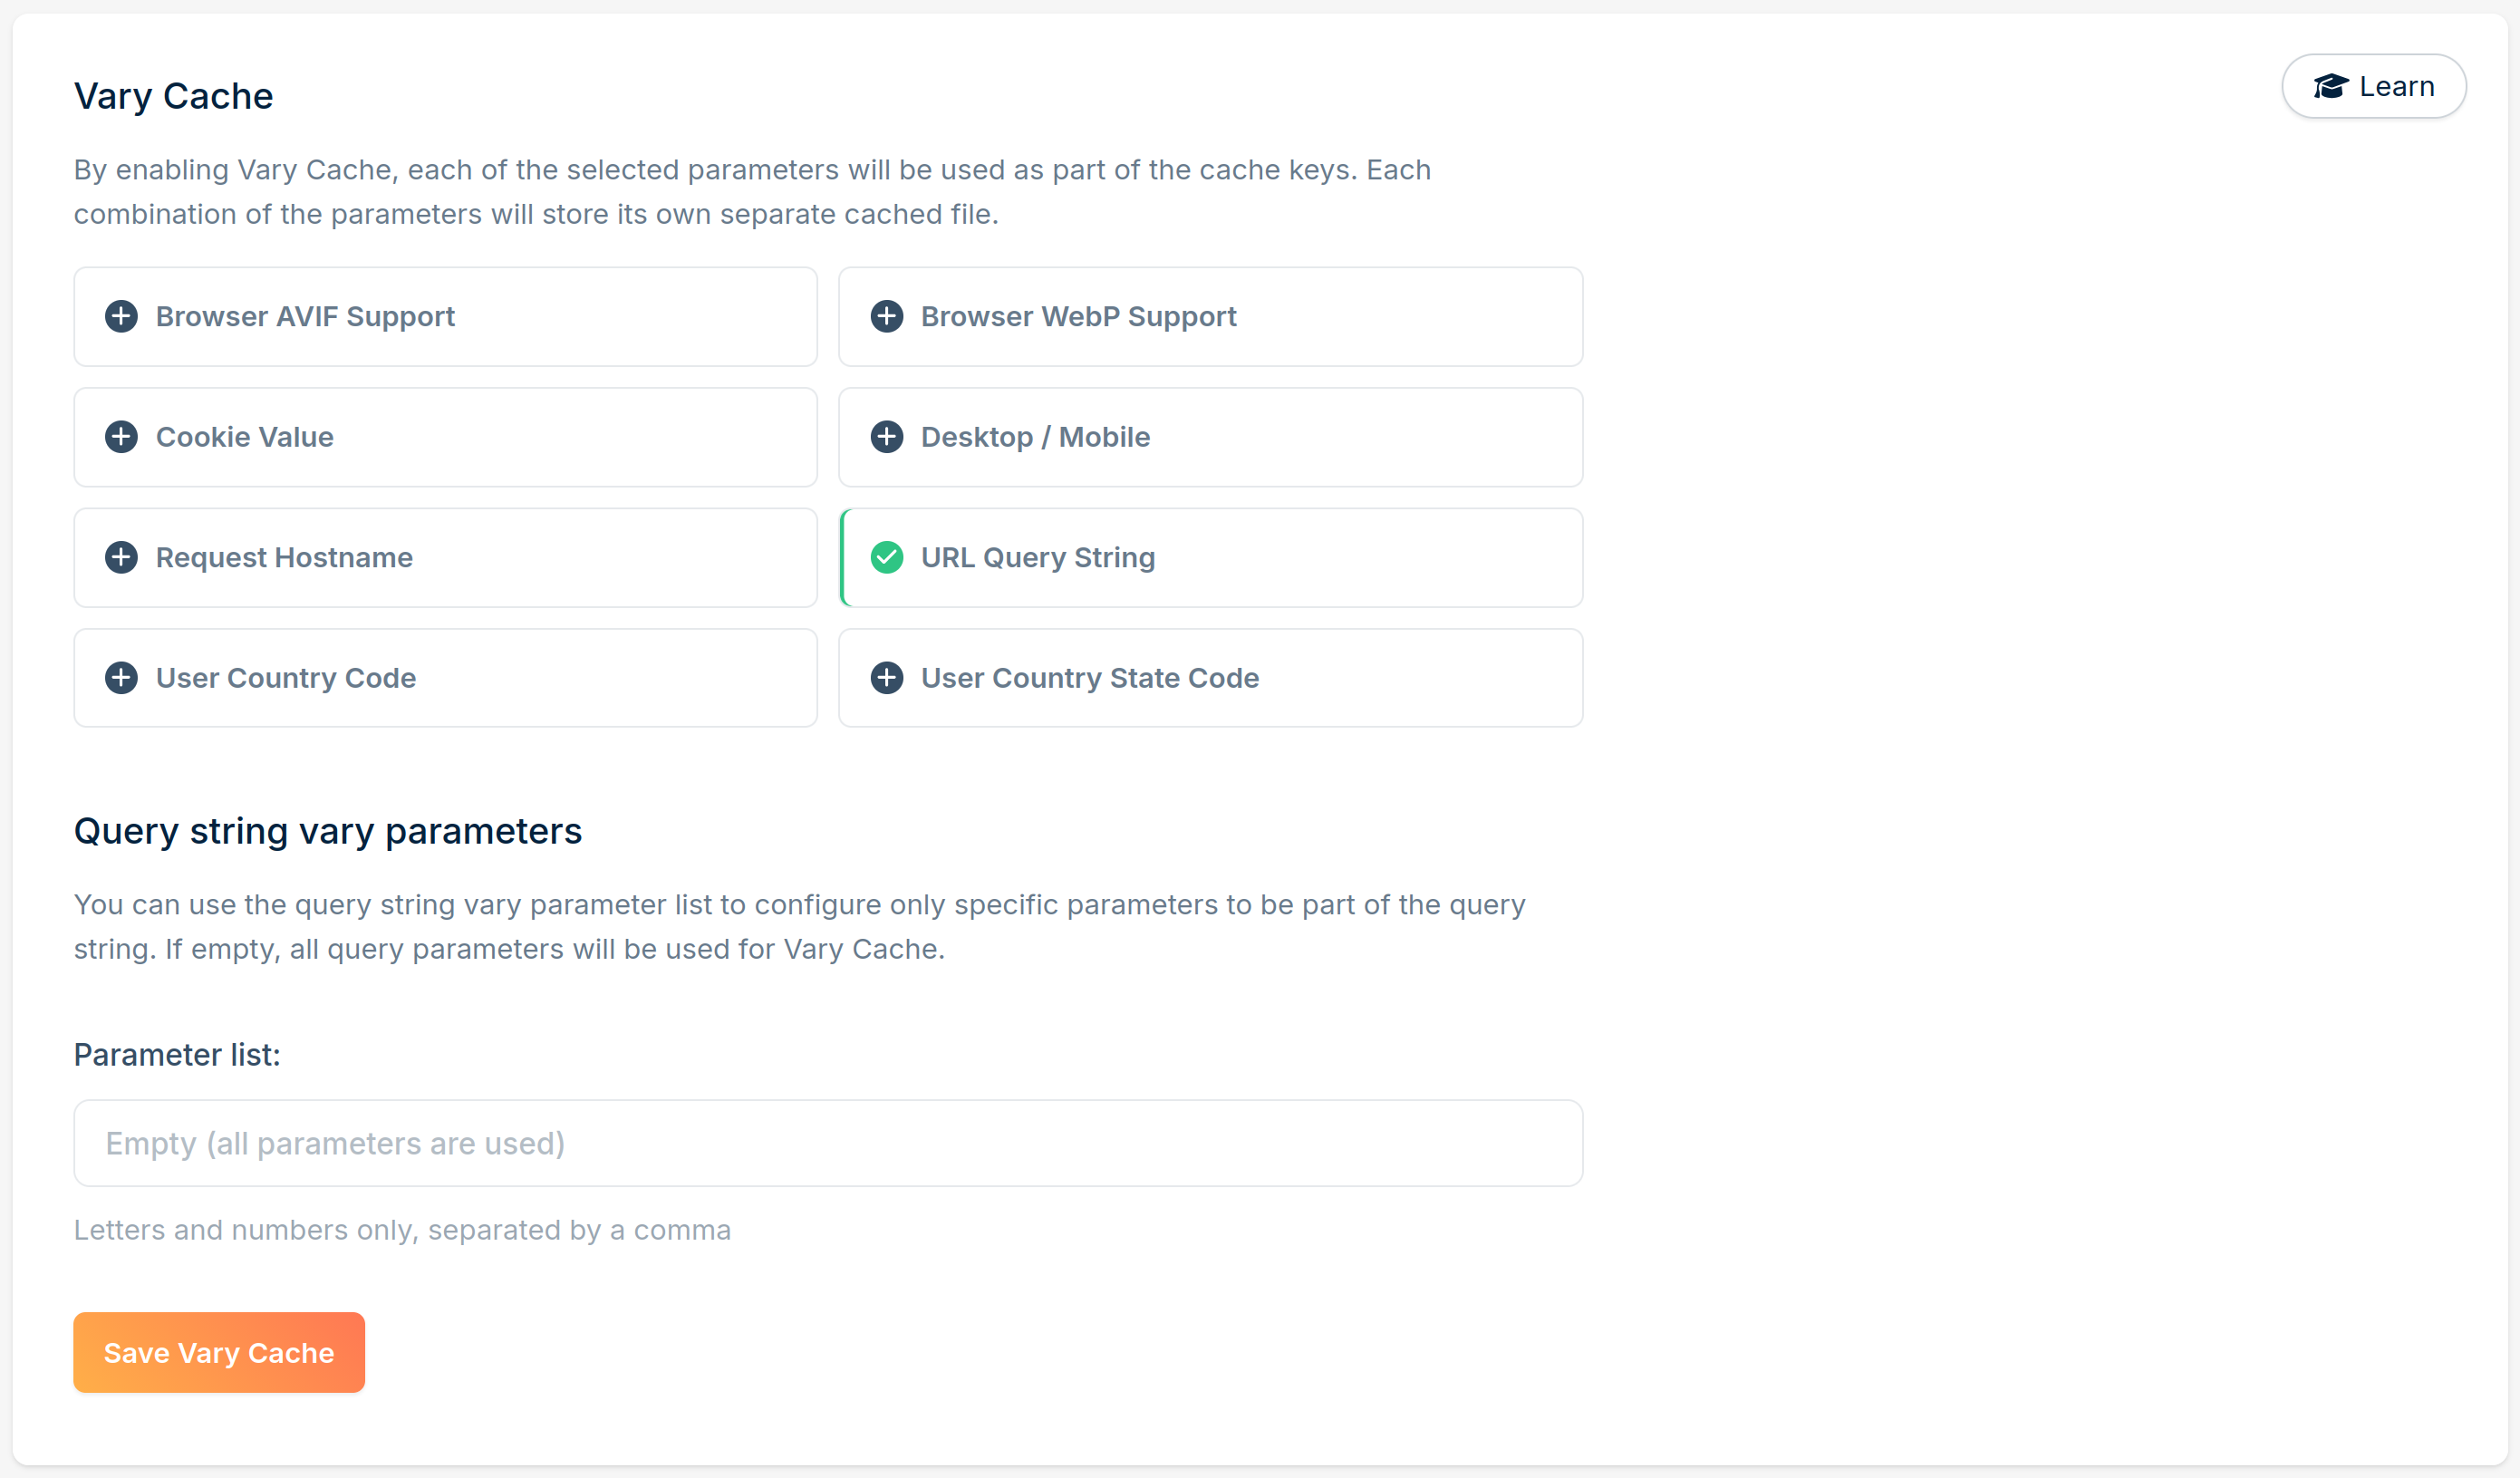
- Vary Cache. Enable “Vary cache” by query string and enter
sitekeyas a parameter.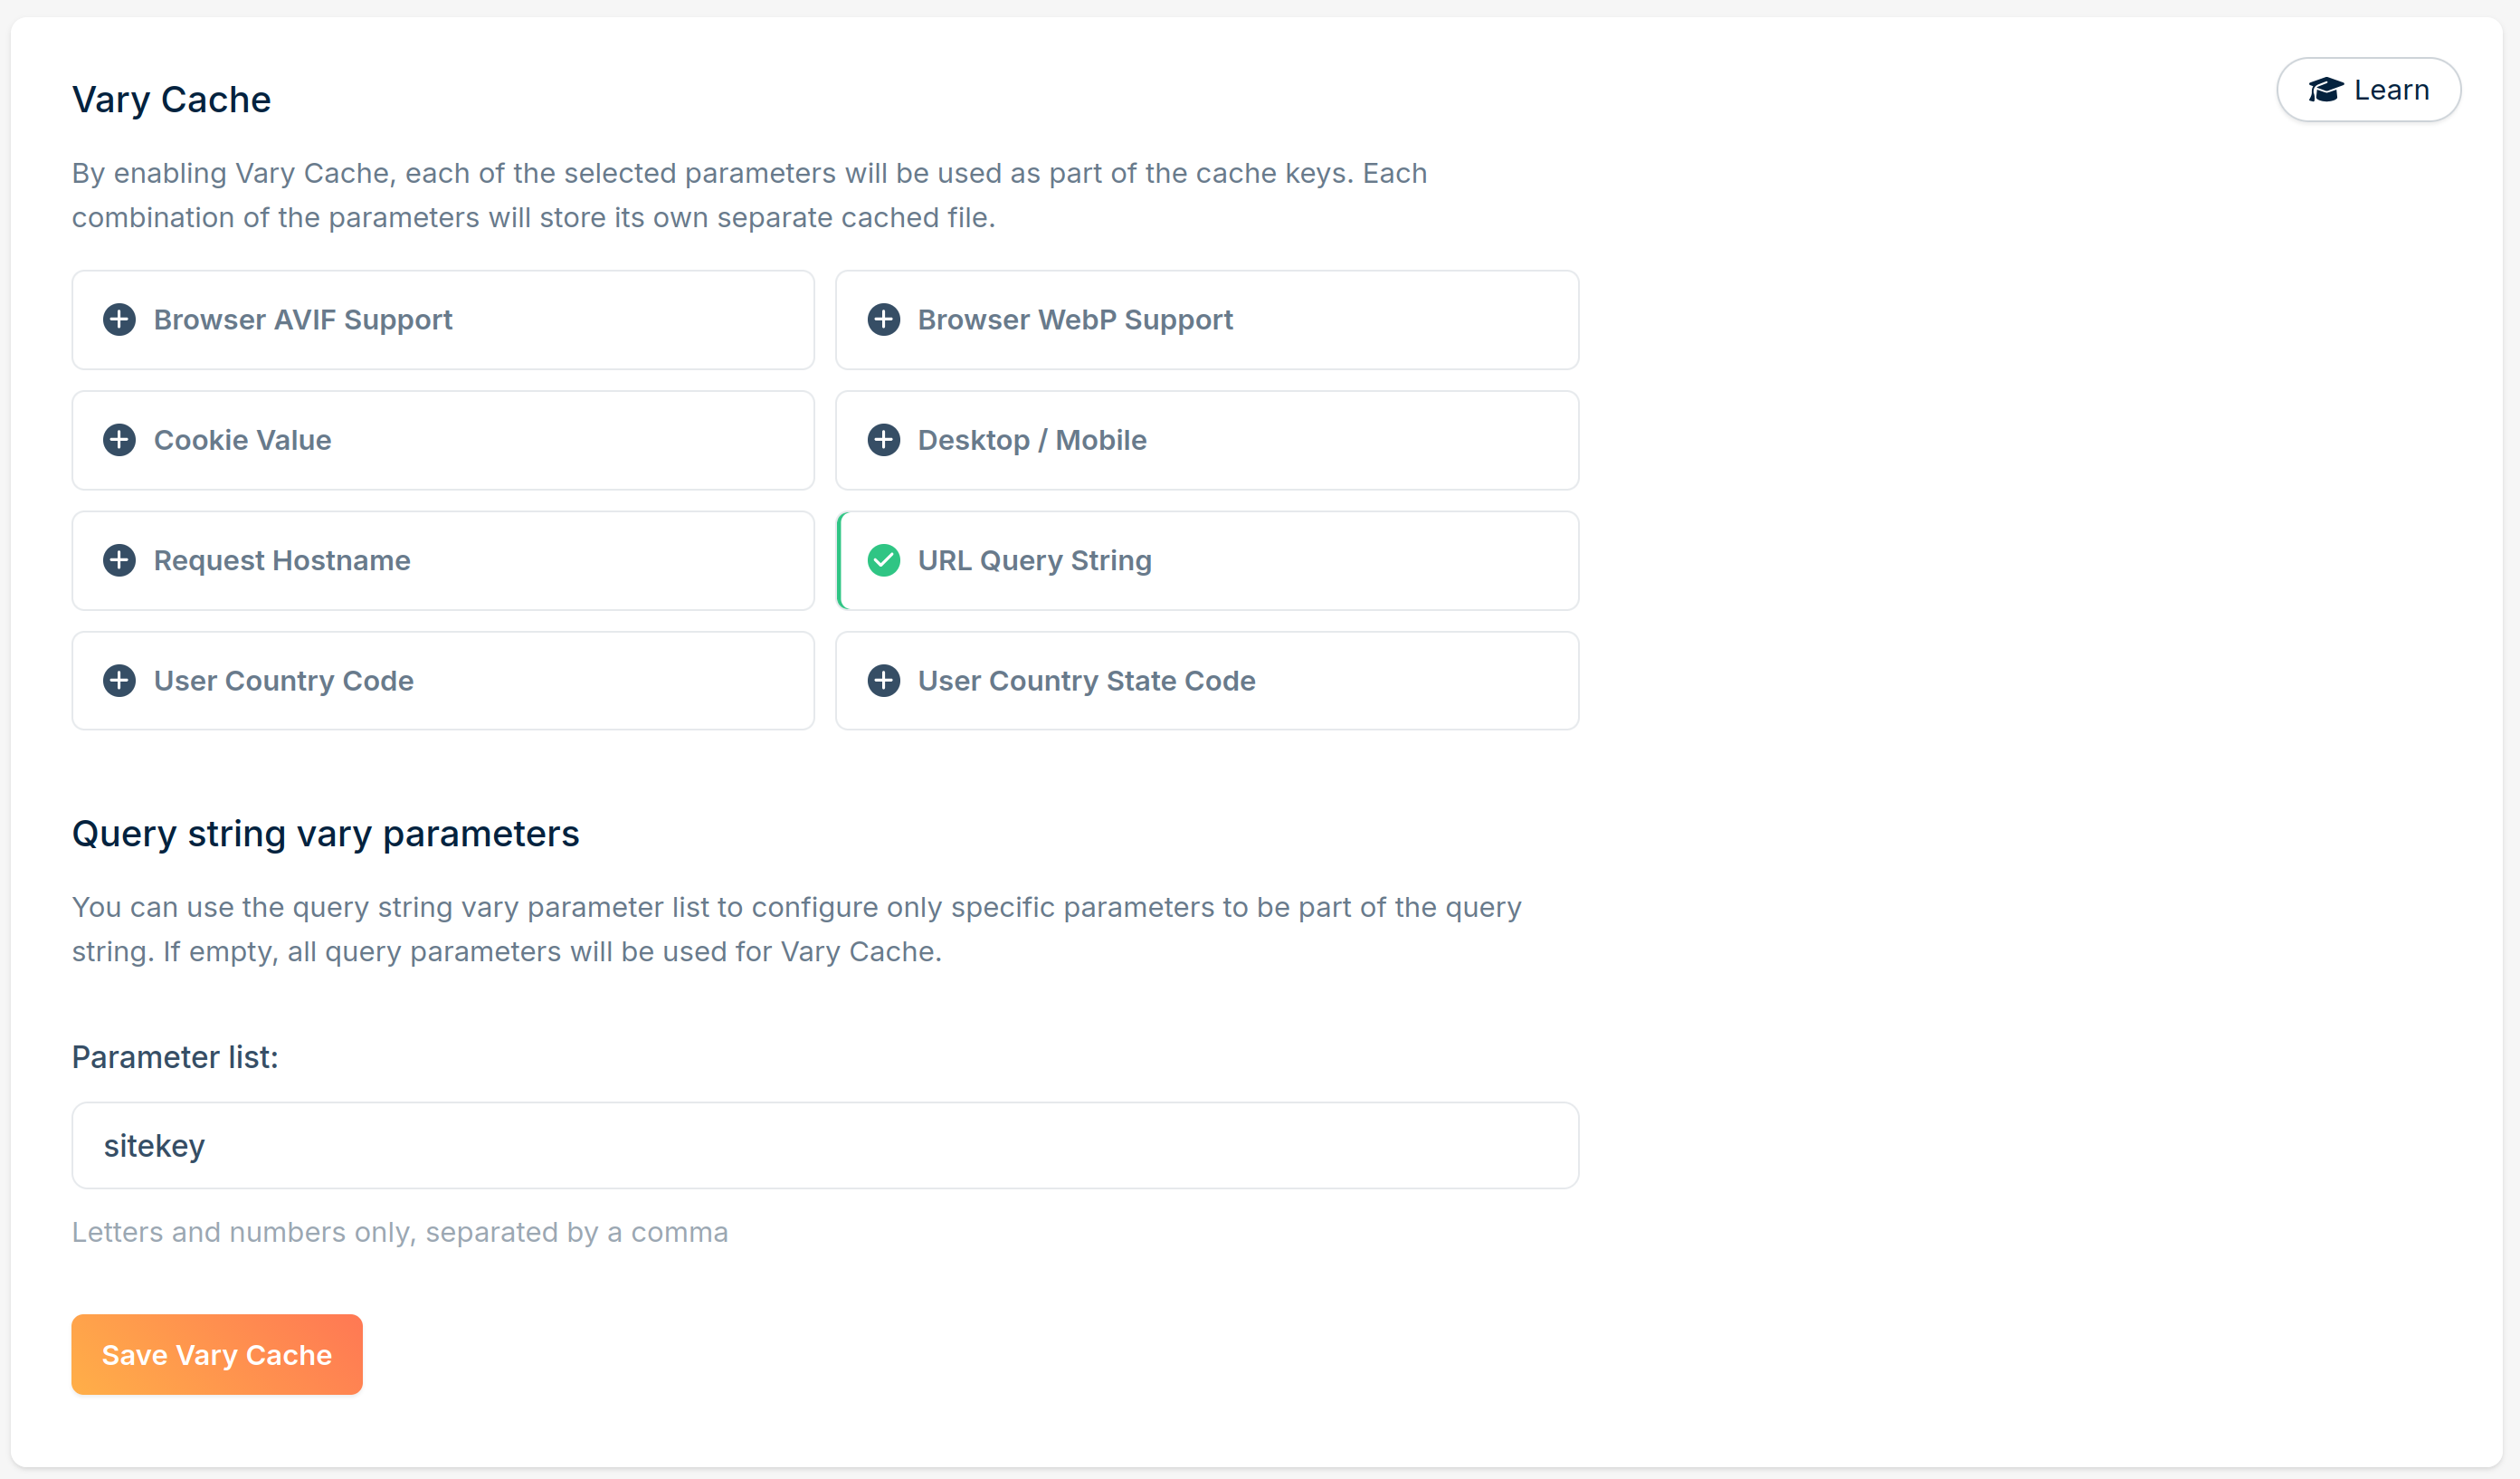
Configuring the cdn. CDN zone
- Hostnames. The same as for
api.zone above. - Origin. The same as for
api.zone above. - Pricing & Routing. The same as for
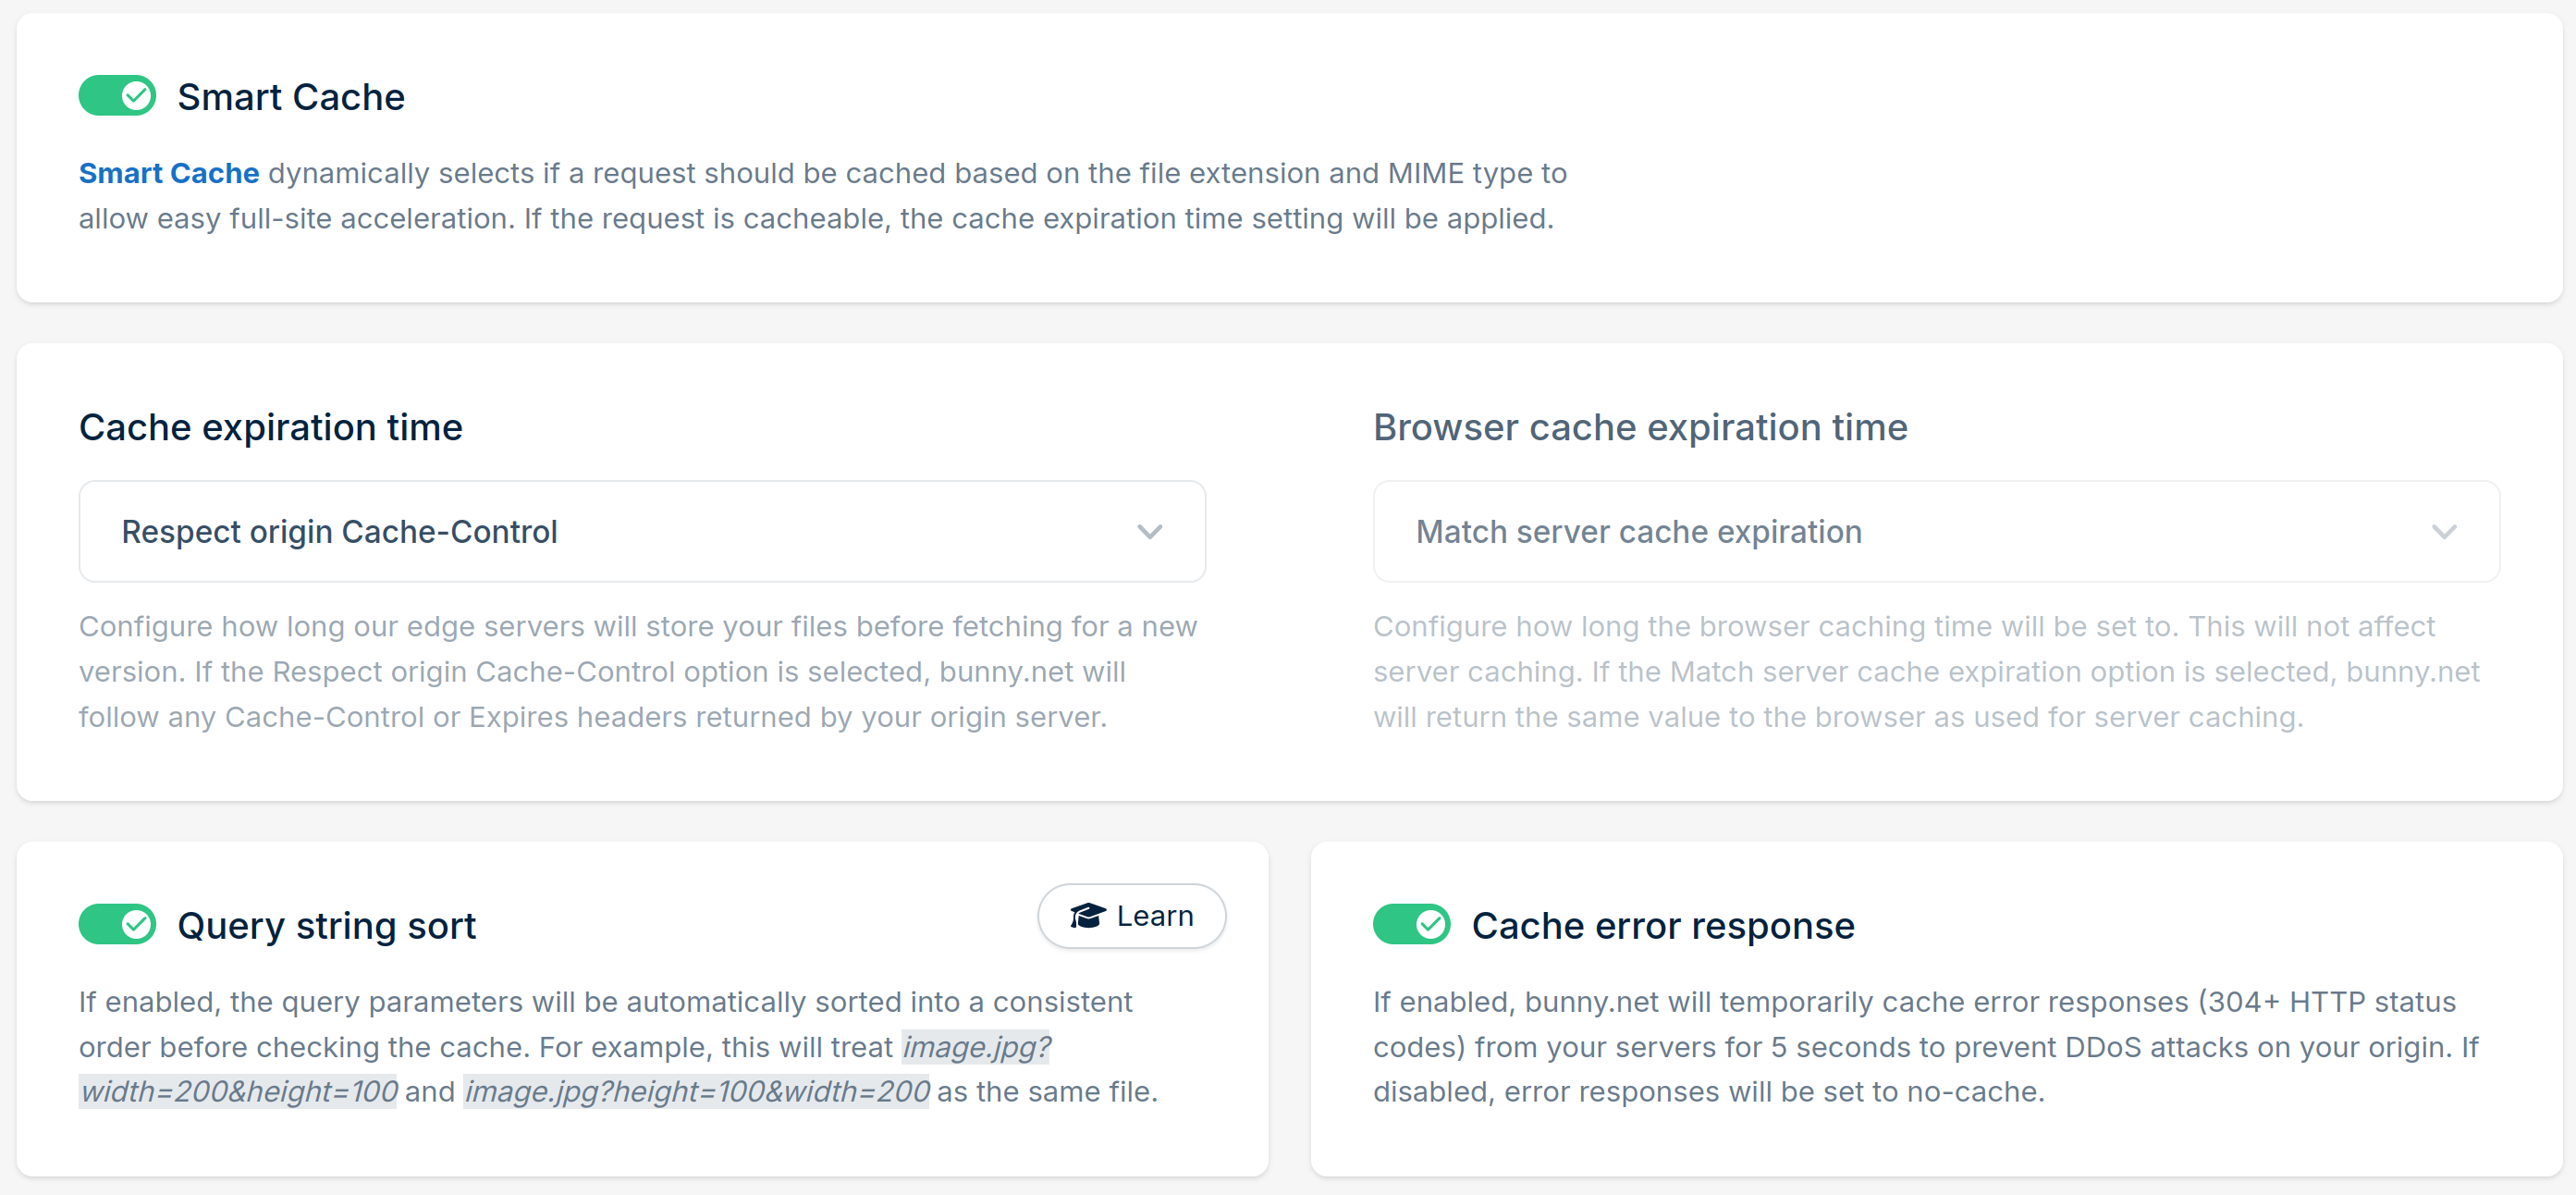
api.zone above. - Caching. Here you can enable “Smart cache” and few other settings, like “Cache error response”.
- Vary Cache. Do not enable “Vary cache”.
- Security. Enable “Block POST requests”.

Configuring the portal. CDN zone
- Hostnames. The same as for
api.zone above. - Origin. The same as for
api.zone above. - Pricing & Routing. The same as for
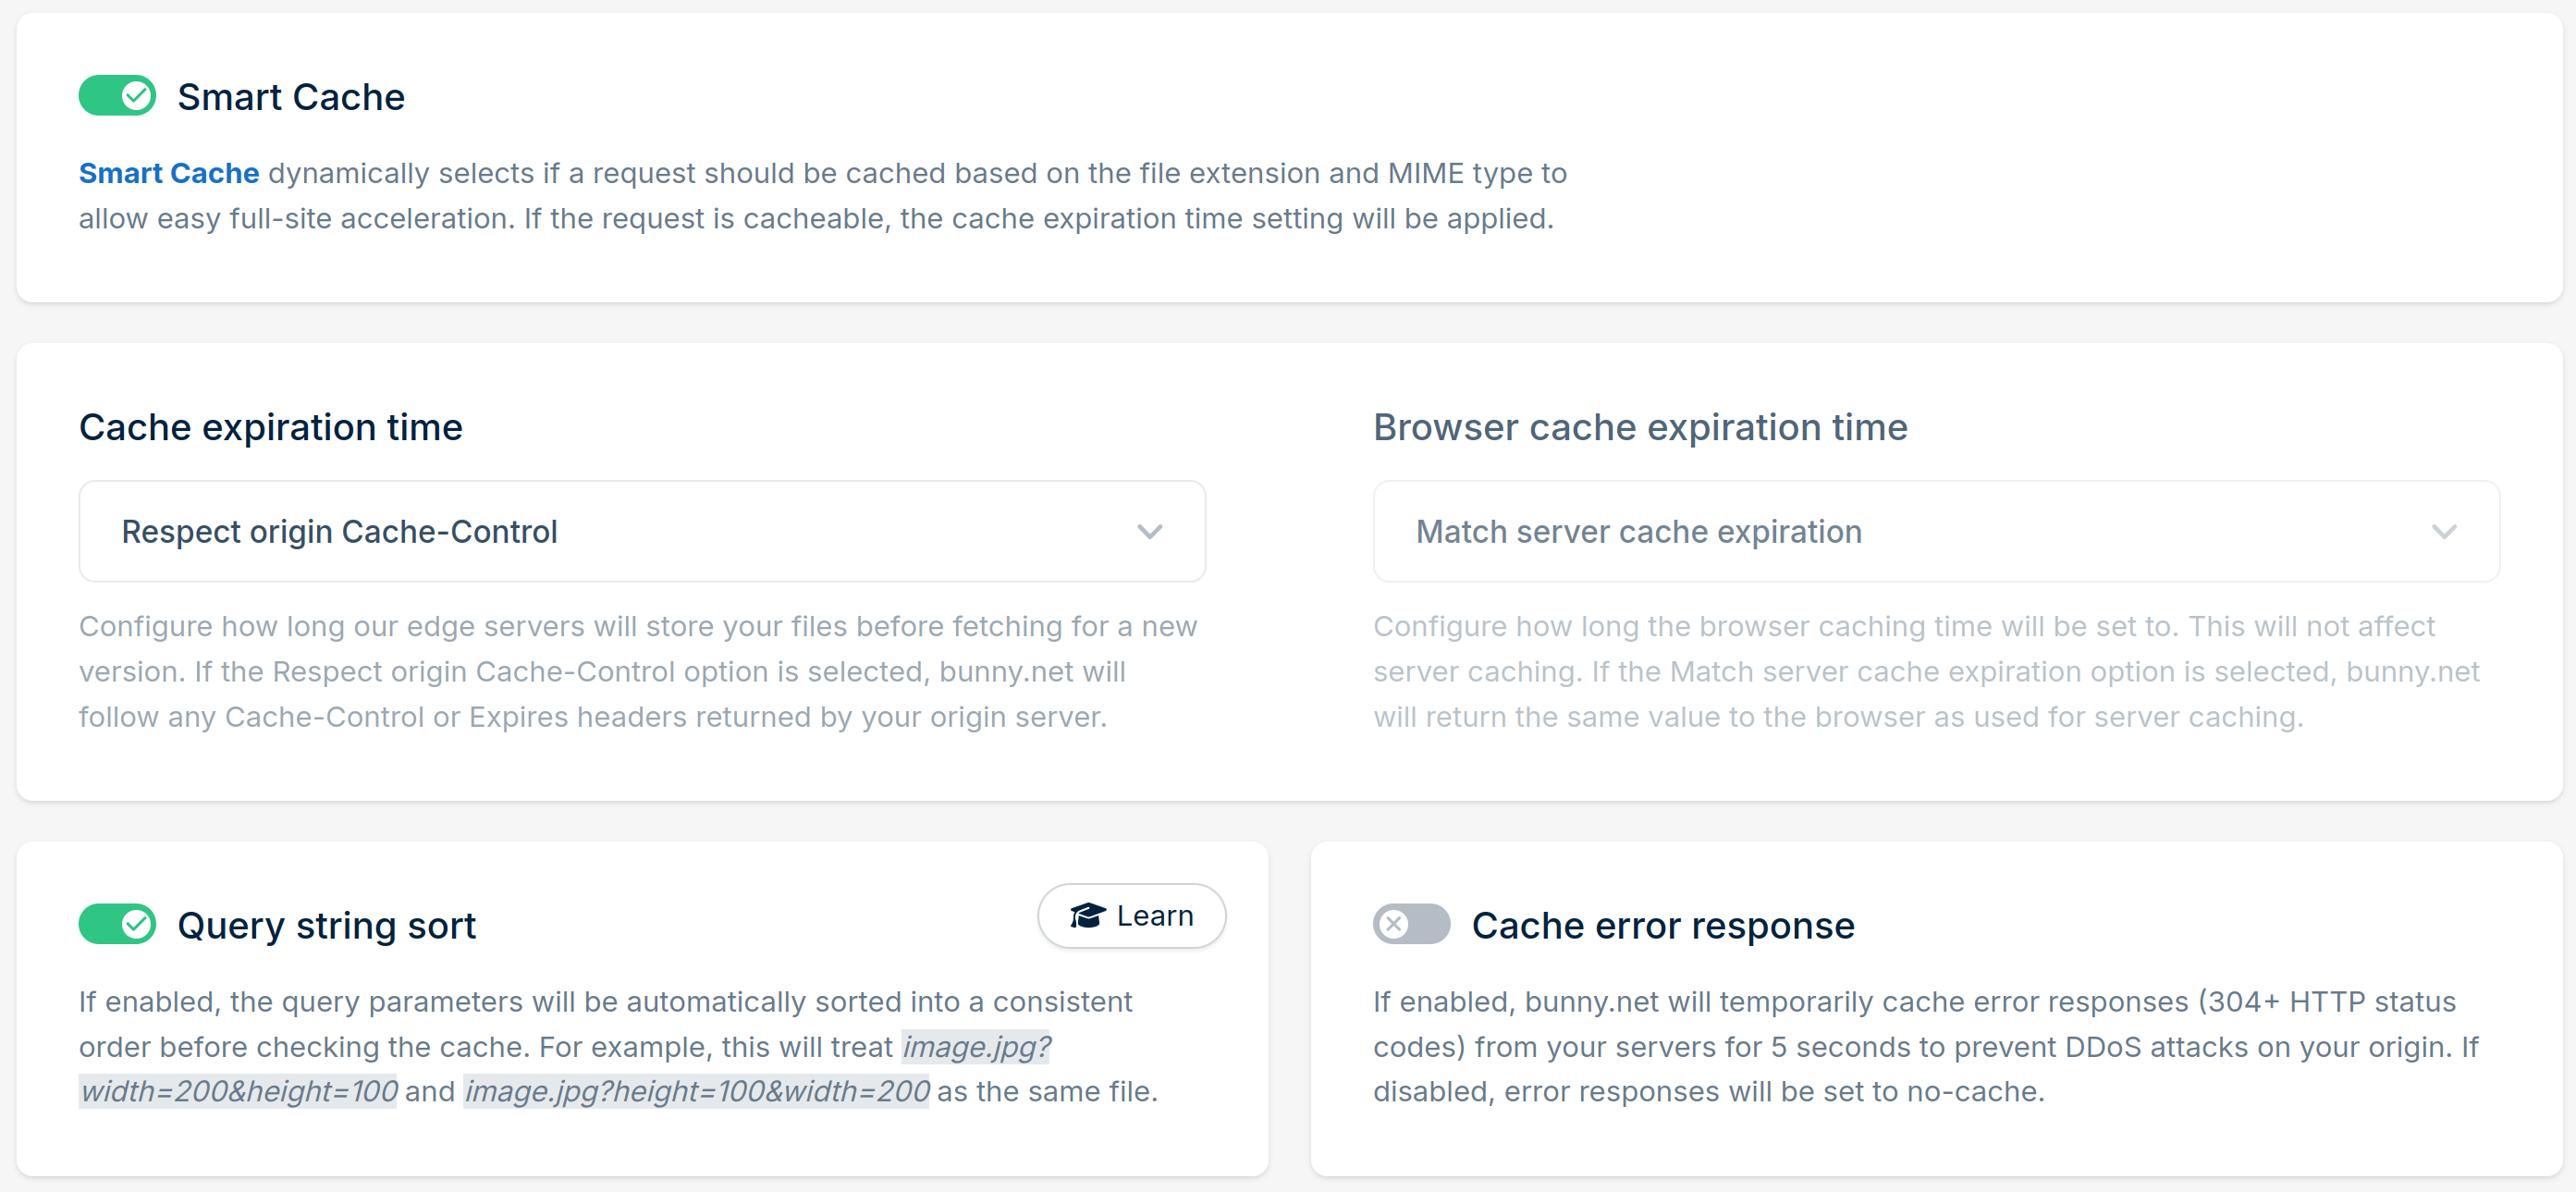
api.zone above. - Caching. Here you can enable “Smart cache” and few other settings, but not “Cache error response”.
- Vary Cache. Enable “Vary cache” by URL query string, but do not enter any specific parameter.
EU routing
In case you have a “larger” Private Captcha installation (e.g. multi-node Enterprise edition) and you want to restrict routing to be EU-only (meaning, you also have non-EU servers), in Bunny you can achieve that in “Pricing & Routing” section of the dashboard.

Security (optional)
Warning
This is not a comprehensive security guide. Here are only a very few settings, specific to Bunny CDN that you can tweak.
Allowing only Bunny servers to access your compute node
As a general rule of thumb, you should only allow Bunny’s CDN servers to access your compute resource.
IP addresses
Bunny publishes a list of IP addresses/ranges of their servers (both IPv4 and IPv6). While the implementation of this is outside of the scope of this guide, you can have network firewall rules in your cloud provider (e.g. Firewalls in Hetzner, Vultr etc.) that only allow access from Bunny’s IPs. You will have to keep those firewall rules updated to ensure availability of your Private Captcha installation.
HTTP headers
Additionally you can add a secret request header to each request in Bunny CDN using an “Edge rule” and check this header yourself before accessing Private Captcha instance (for example, if you use Caddy or Nginx as a reverse proxy).

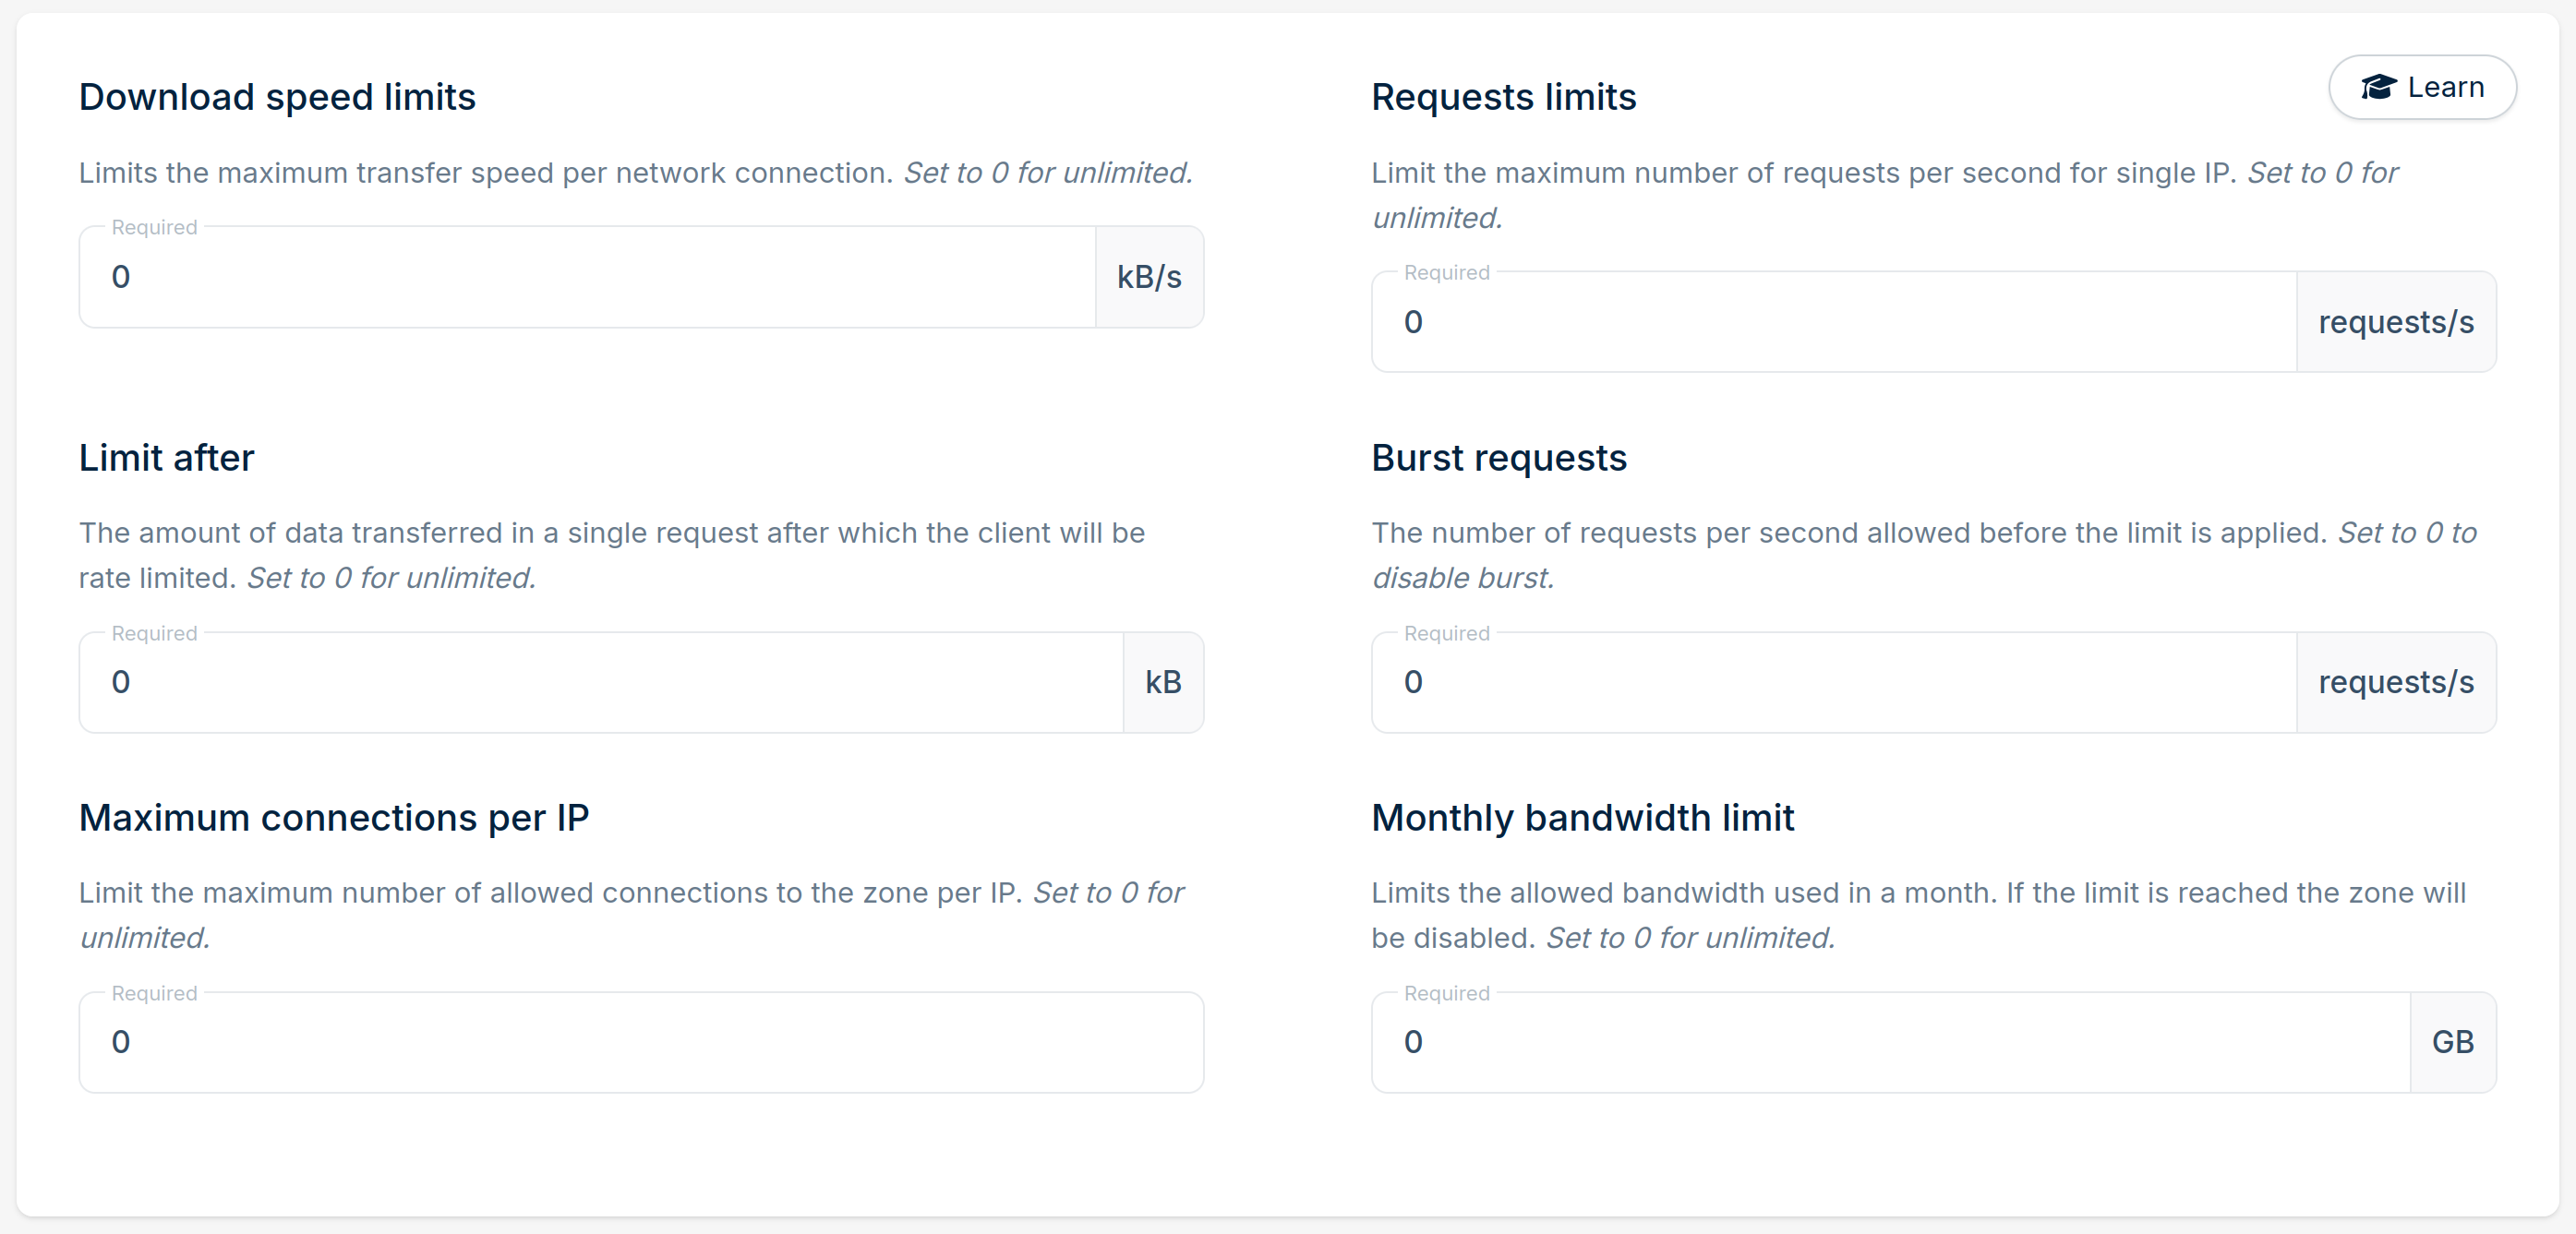
Network limits
Per each of the CDN zones above you can setup rate limiting on Bunny side (which is recommended).
WAF
Bunny now also provides a Web Application Firewall which you can use to block abusers or configure custom rules. Use at your own discretion.